Melting chocolate is an art form, and white chocolate wafers can be particularly temperamental. Whether you're a seasoned chocolatier or a baking beginner, mastering the technique of melting white chocolate can elevate your dessert game. Here's a step-by-step guide to ensure your white chocolate is smooth, creamy, and ready for any confectionary creation.
Step 1: Prep Your Chocolate
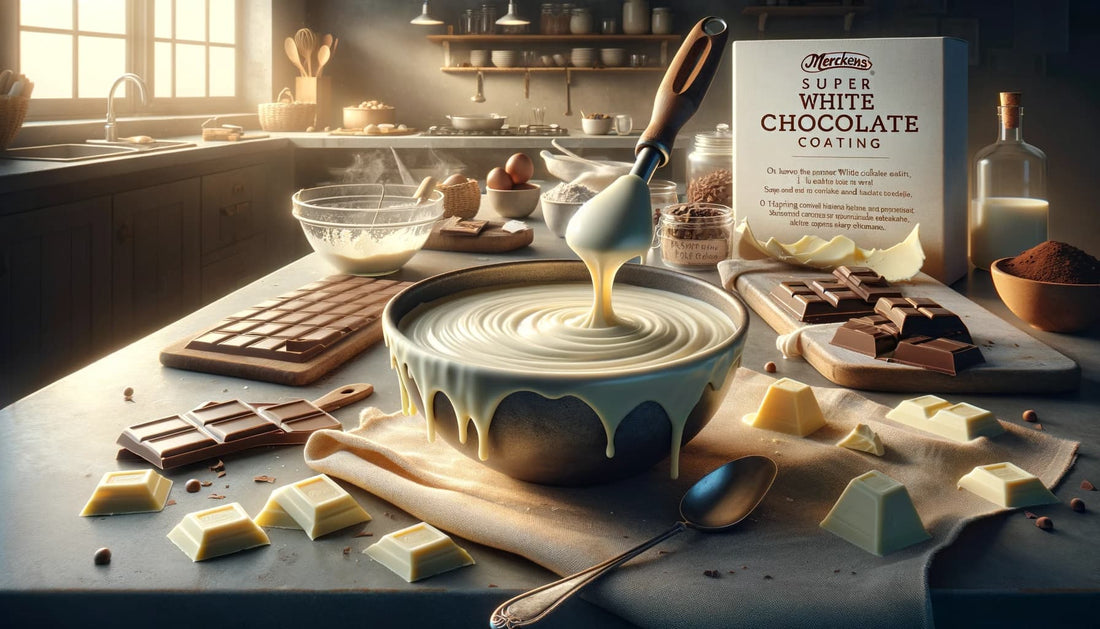
Begin with a full pound of high-quality white chocolate wafers. Opt for a plastic bowl instead of glass; plastic doesn't conduct heat as intensely, reducing the risk of overheating your chocolate.
Step 2: The First Melt
Place your bowl of chocolate in the microwave and heat it on high for one minute. This is a good time to stand by and start planning how you'll use your perfectly melted chocolate.
Step 3: Stirring Your Chocolate is Key
After the microwave beeps, use a fork to stir the chocolate. Initially, it won't look melted. However, stirring for at least 30 seconds is crucial. This process helps dissipate the heat evenly, preventing the chocolate from seizing. White chocolate retains more heat compared to milk or dark chocolate, so don't be surprised if it takes a bit longer to melt.
Step 4: The Second Heat
Clean off your fork and return the bowl to the microwave for another 30 seconds on high. Remember, microwave wattages vary, so adjust the time according to your appliance's power.
Step 5: Stir The Chocolate Again
Stir your chocolate once more, ensuring the heat distributes throughout. If your microwave is on the stronger side, you might need less than 30 seconds for this second round. The chocolate should start to resemble thick, creamy clay at this stage.
Step 6: Final Touches
After the final round in the microwave, the chocolate should be buttery smooth. Any remaining solid wafers will lose their shape, blending into a creamy consistency. Continue stirring until there are no more chunks, and the chocolate flows smoothly.
Step 7: Ready for Use
Now, your melted white chocolate is ready for dipping pretzels, filling chocolate molds, or coating your favorite Oreos. If you find the consistency too thick for your liking, a little trick is to add paramount crystals. These flakes, derived from the same oils used in the chocolate coating, can thin out your melted chocolate to the desired viscosity. Add them a tablespoon at a time, up to a quarter cup per pound, until you reach the perfect texture.
Melting white chocolate doesn't have to be intimidating. With a bit of patience and precise heat management, you can achieve a glossy, smooth finish every time. Now that you know the secrets to perfectly melted white chocolate, the only limit is your imagination. Dip, mold, and drizzle your way to sweet, white chocolate bliss!
For a visual guide on how to perfectly melt white chocolate, be sure to watch our step-by-step video tutorial on YouTube.